
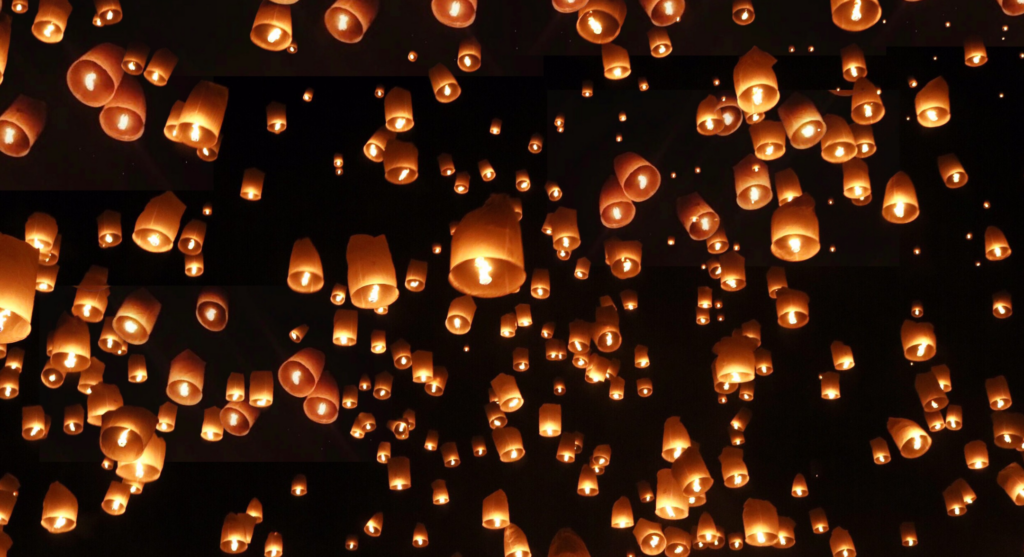
In today’s world of sustainable living and creative home décor, DIY bottle lanterns offer a perfect blend of eco-friendliness and artistic flair. This project transforms discarded glass bottles into beautiful, ambient lighting solutions that can enhance any space. Whether you’re looking to add a rustic charm to your garden or create a cozy atmosphere in your living room, making your own bottle lanterns is a fun, engaging, and cost-effective way to brighten up your environment.
Introduction
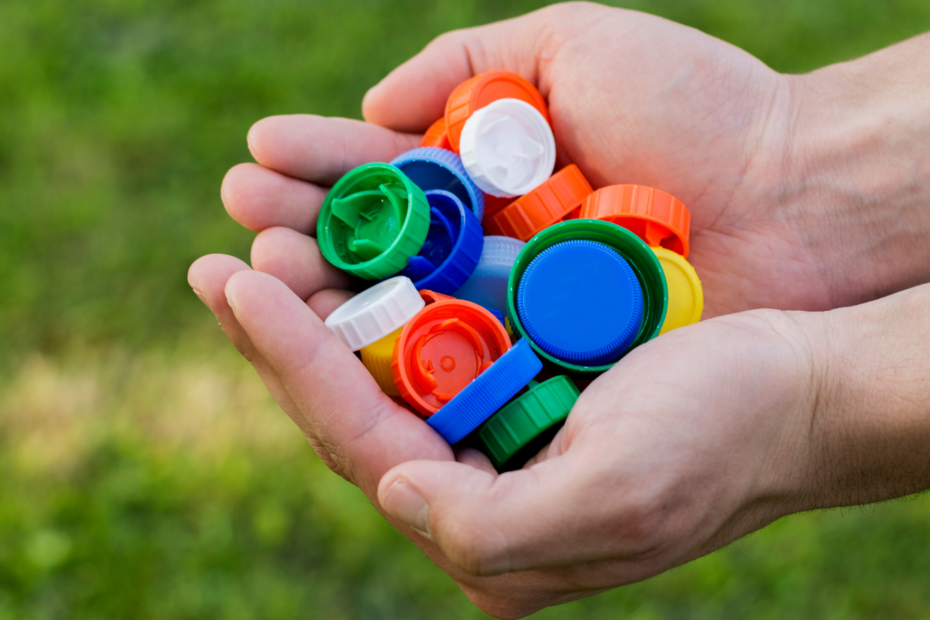
Recycling has never looked so stylish. With a few simple tools and a bit of creativity, you can convert used bottles into stunning lanterns that not only serve as unique lighting fixtures but also promote environmental sustainability. DIY projects like this allow you to repurpose materials that might otherwise end up in landfills, giving them a new lease on life. In this comprehensive guide, we’ll walk you through everything you need to know to create your own bottle lanterns, from gathering materials to finishing touches that add your personal style.
Why DIY Bottle Lanterns?
There are several compelling reasons to dive into this creative project:
- Eco-Friendly: Repurposing glass bottles helps reduce waste and supports a greener lifestyle.
- Cost-Effective: Using recycled materials and inexpensive supplies, you can create decorative pieces at a fraction of the cost of store-bought lanterns.
- Customizable: With endless design possibilities, you can tailor your lanterns to match your home décor or outdoor settings.
- Creative Outlet: This project is an excellent way to explore your artistic side and engage in a hands-on, satisfying craft.
Materials and Tools Needed
Before you begin, gather all the necessary materials and tools. Having everything ready will make the process smoother and more enjoyable.
Materials
- Glass Bottles: Choose bottles that are clean and free of cracks. Wine bottles, soda bottles, or any similar glass containers work well.
- LED Tea Lights or String Lights: LED options are safer and more energy-efficient than traditional candles.
- Sandpaper: Fine-grit sandpaper for smoothing any rough edges after cutting the bottle.
- Glass Paint or Etching Cream (Optional): For decorating the bottles.
- Clear Sealant or Mod Podge: To protect any paint or designs you add.
- Adhesive: Strong glue or silicone sealant to secure parts if necessary.
- Protective Gloves and Safety Goggles: Essential for protecting your hands and eyes during the cutting process.
Tools
- Glass Cutter: A specialized tool for scoring glass.
- Hammer: Used in conjunction with the glass cutter for breaking the bottle along the scoreline.
- Heat Source: A candle or a small torch can help smooth out the scoreline.
- Drill with Glass Drill Bits (Optional): If you plan to create patterns or holes for additional decoration.
- Work Surface: A sturdy, flat surface covered with a towel or cardboard to protect both your work area and the bottles.
- Ruler and Marker: For measuring and marking where you want to cut or decorate.
Step-by-Step Guide to Creating Bottle Lanterns
Follow these detailed steps to transform your old bottles into beautiful lanterns.
Step 1: Cleaning and Preparing the Bottles
Begin by thoroughly cleaning the bottles to remove any labels, glue, or residues. Soak the bottles in warm, soapy water, and use a scrub brush if necessary. Rinse them well and let them dry completely. This ensures that no contaminants interfere with the cutting process or the adhesion of any decorations you plan to apply.
Step 2: Marking the Cutting Line
Decide on the design of your lantern. Many DIY enthusiasts prefer a simple cut along the side of the bottle, creating a strip where light can shine through. Use a ruler and a marker to draw a straight line around the bottle where you plan to make the cut. If you prefer a more decorative approach, consider drawing patterns or shapes that will reveal different light effects when illuminated.
Step 3: Scoring the Glass
Using a glass cutter, score along the marked line. Apply even pressure and make a continuous, smooth score. It may take a few tries to get a clean scoreline, so be patient. If your design includes intricate patterns, score multiple lines as needed. The quality of this step directly influences the success of the break.
Step 4: Breaking the Bottle
Once you have a well-defined scoreline, gently tap the bottle along the score using a hammer. It’s crucial to wear protective gloves and safety goggles during this step to avoid injury from shattered glass. In some cases, you may need to apply a little heat along the scoreline with a candle to help the glass break cleanly. Work slowly and cautiously—there is no rush in this process.
Step 5: Smoothing the Edges
After the bottle breaks along the score, you’ll likely be left with rough edges. Use fine-grit sandpaper to smooth these edges carefully. This not only improves the aesthetic appeal of your lantern but also makes it safer to handle. Take your time to ensure all edges are uniformly smooth, especially if the lantern will be used in areas where people might touch it.
Step 6: Decorating Your Lantern
Now comes the fun part—decorating your bottle lantern. You have many options:
- Glass Paint: Use glass paint to create patterns, designs, or even inspirational messages on the bottle. Follow the manufacturer’s instructions for the best results.
- Etching Cream: For a more subtle, frosted look, apply etching cream to the surface of the glass. This technique creates a translucent, diffused light effect.
- Stencils and Decals: Use stencils to paint intricate patterns or apply decals for a modern, clean look.
- Natural Elements: Incorporate elements such as twine, small beads, or pressed flowers for a rustic, organic style.
Allow your decorations to dry thoroughly. If you’ve painted or etched the glass, consider applying a clear sealant to protect your work and make it more durable.
Step 7: Inserting the Lighting
For the final step, insert your chosen lighting source into the bottle. LED tea lights are a popular option because they are safe, energy-efficient, and provide a warm, inviting glow. Alternatively, you can use a string of LED lights to create a cascading effect. If you’re using string lights, ensure that the battery pack is accessible and that you can easily turn the lights on and off.
Customization Ideas
DIY projects are all about personalization. Here are a few creative ideas to customize your bottle lanterns further:
- Color Play: Experiment with different colored paints to create a vibrant, multicolored light display. You can even mix colors to achieve a gradient effect.
- Themed Designs: Tailor your lanterns to fit seasonal themes. For example, use pastel colors and floral patterns for spring, or opt for warm, earthy tones for autumn.
- Mosaic Art: Break small pieces of colored glass or ceramic tiles and adhere them to the bottle’s surface. This technique creates a mosaic effect that refracts light in beautiful ways.
- Upcycled Accents: Attach small metal or wooden embellishments to add an extra layer of texture and dimension.
Safety Considerations
Working with glass requires caution. Here are some key safety tips to keep in mind:
- Protective Gear: Always wear gloves and safety goggles when cutting and sanding glass.
- Work in a Well-Ventilated Area: If you’re using paints or etching creams, ensure your workspace is well-ventilated.
- Stable Work Surface: Use a flat, sturdy surface to prevent the bottles from rolling or shifting while you work.
- Proper Disposal: Keep a container nearby for any broken glass fragments to prevent accidental injury.
Maintenance and Care
Once your DIY bottle lanterns are complete, they require minimal maintenance. However, following these care tips will ensure they remain in good condition:
- Regular Cleaning: Wipe the surface of the bottles with a soft, damp cloth to remove dust and debris.
- Inspect for Damage: Periodically check for any chips or cracks in the glass. If you notice any damage, repair or remove the lantern to avoid injury.
- Replace Lighting as Needed: LED lights have a long lifespan, but if your lights begin to dim, replace them to maintain the lantern’s ambient glow.
Benefits of DIY Bottle Lanterns
Creating your own bottle lanterns comes with numerous benefits:
- Environmental Impact: By repurposing old bottles, you help reduce waste and support a sustainable lifestyle.
- Personal Expression: Customizing your lanterns allows you to express your creativity and create pieces that reflect your personal style.
- Budget-Friendly: With inexpensive materials and a bit of time, you can create beautiful décor without breaking the bank.
- Community Engagement: DIY projects like these can be a great way to bring friends and family together. Consider hosting a crafting session to share techniques and ideas.
- Unique Ambiance: Handcrafted lanterns provide a unique, warm glow that enhances the atmosphere of any space, making it more inviting and cozy.
Frequently Asked Questions
Can I use any type of bottle for making lanterns?
Yes, most glass bottles can be repurposed as lanterns as long as they are free of cracks and are thoroughly cleaned. Wine and soda bottles are popular choices due to their size and shape.
Are LED lights safe to use inside glass bottles?
Absolutely. LED lights are a great option because they produce less heat than traditional candles, making them safer for use in enclosed spaces like glass bottles.
How do I ensure the glass does not shatter during cutting?
Using the proper tools, such as a quality glass cutter, and following safety procedures (like scoring evenly and applying gentle pressure) will help minimize the risk of shattering.
What are some alternative decoration methods?
Beyond painting and etching, consider using stencils, decals, or even natural elements like pressed flowers to decorate your bottle lanterns.
How long does the entire process take?
The time required depends on your design complexity and experience. Generally, a simple design might take a few hours, while more elaborate projects with detailed decoration may take a full day.
Conclusion
DIY bottle lanterns are a fantastic way to combine creativity, sustainability, and practical home décor. With just a few everyday materials and some time invested in planning and execution, you can transform old bottles into captivating lighting fixtures that not only add warmth and ambiance to your space but also make a positive impact on the environment. This project is perfect for beginners looking to explore the world of DIY crafts as well as seasoned crafters eager to experiment with new techniques and designs.
The process—from cleaning and preparing the bottles, carefully scoring and breaking the glass, to decorating and installing LED lights—requires patience and attention to detail. However, the satisfaction of creating something unique and useful far outweighs the challenges. Moreover, the customization options are nearly limitless, ensuring that every lantern you create is a one-of-a-kind masterpiece.
We hope this comprehensive guide inspires you to gather your materials and start your own DIY bottle lantern project. Whether you plan to display them in your garden, on your patio, or as part of your indoor décor, these lanterns will undoubtedly be a conversation starter and a testament to your creativity. So, roll up your sleeves, put on your safety gear, and let your imagination light up your space with these beautiful, handcrafted lanterns.
By embracing a sustainable approach to home décor and investing time in a creative DIY project, you’re not only enhancing your living environment but also contributing to a more eco-friendly lifestyle. Happy crafting, and may your bottle lanterns shine bright!